The basement… Such an underused room of your house. It gets used for many different purposes, like gyms, or even laundries. You can’t get over the fact that your basement is not being used to its maximum potential. Then you realize that whenever you have that large gathering at home, your living room just isn’t enough. So why not convert your wasted basement into a bar?
Read on for 7 quick tips on how to build a basement bar or read our in depth article for all of the how to details.
- Visualize – Visualize your idea of a basement bar in your head. This will be a great starting point on how to build a basement bar. You must imagine how it’s all going to look before you build it. Draw it on a sheet of paper or sketch it on your iPad. Go down to your basement and figure out what corner or area you want to put the bar.
- Make A Plan – Make a basement bar checklist. After you have the basement drawing all sketched out, you should be able to imagine the materials and tools to use in setting it up. Other than wood, you should be able to see things like electrical wirings, lighting fixtures, framing, drainage, and all other things you can see through in your sketch.
- Get Inspiration – Check out your buddies’ basement bars. If you still do not have a clear view of what needs to be considered for this project. You may want to visit your friends who have basement bars. Simply have a look around. You do not need to even ask them pointers on how to build a basement bar. That is probably one of the most reliable help you could get. For sure, your friends would be more than willing to share their own experience.
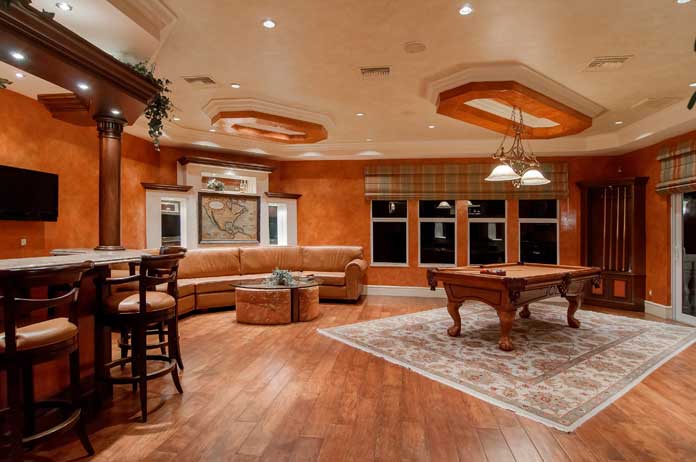
- Basement Bar Photos – Check out the internet. This medium is a great source of ideas on how to build a basement bar. The thing is that your plans of realizing this project only happens when you have your concept crystal clear. Basement bar websites will help you imagine what you hope to achieve with your basement bar because they show pictures. This is a big advantage especially if your grades in art class were very low.
- Choose The Right Materials – Of course you know this. In the planning stage, materials and labor cost are usually what determines a project’s cost. At this point, it’s not enough to know the basics of how to build a basement bar. Extra knowledge is a very important factor as well.
- Supplies And Equipment – Common sense and experience will tell you that when you see a basement bar, there is always liquor and most often loud music. This can be thought of in detail when your bar is almost finished but it may help to include this in your preparation. Maybe know a little bit about what brand of wine, brandy, or whatever liquor you know that can suit your taste. Also think about where and how you want to store your liquor. Wall mounting your spirits can be very handy and give you bar a stylish look. Look at what your preferences are, they have a lot to do with the mood you set in your bar. Then of course knowing a little bit about music equipment can lead you to understand what type of speakers you need to install. Acoustic insulation is also a consideration if you want music piped into your basement bar.
- Stick To Your Budget – Once you start to get deeply involved in planning your basement bar, it’s easy to forget about the budget you’ve set. Stick to it. If something unexpected arises, take a step back and think… Do I really need this? Quite often it’ll be a case of “nice to have” not “must have” items. You can in fact build a basement bar on a budget.
Final Thoughts
Now that you have the design plan listed out for your little project, it is time to work on it. The good thing about this is that you can do it all or at least part of it yourself. If you have no background in carpentry or interior design, this is a good time to learn. Then maybe, in the future, you might want to share your experience. You might want to return the favor by giving your friends personal tips on how to build the ultimate basement bar. With the bar finished and stocked with all the essential accessories, it’s time to sit back and enjoy.