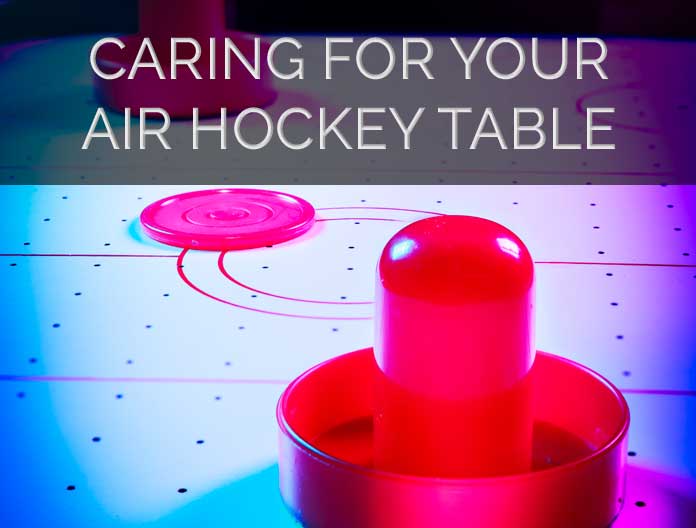
Air hockey is indeed a fun way to enjoy some quality time with family and friends. However, without proper maintenance of your air hockey table, you won’t keep experiencing the game like you should. If you have spent your hard earned cash on a high quality table, then you would want to ensure that it’s always in top playing condition.
Even the smallest particles like crumbs and dust can do great harm to your table as they will ultimately clog the holes for the airflow. In addition to this, the puck won’t move smoothly, making the game much less fun to play.
When dust and dirt continue to accumulate, they may form dead spots on the table causing the puck to come to a complete halt in the middle of play or even permanently damage the table in the long term. In other words, you always have to keep your air hockey table in nice and clean condition if at all you want to enjoy flawless hockey games for a long time.
Fortunately, the process of cleaning an air hockey table is not complicated at all. In this article, I’m going to share with you a few steps and tips that I’ve learnt on how to properly clean an air hockey table so as to help you keep it in top condition. If you have just invested in a table and you are not sure how to handle the cleaning, then this article will be helpful.
Steps to Cleaning Air Hockey Table
1. Switch on the Air Blowers
Before you start cleaning, the first thing you want to do is to make sure you’ve turned on you air hockey table. Once you turn on the table, the air blowers will initiate air flow and in the process blow out any particles of dirt or dust from the surface top and the small holes.
Turning the table on will also help prevent any dirt, dust or liquid from settling into the small holes and clogging them up. Note that it’s necessary to keep the table on throughout the cleaning process. It will help keep any gunk you are removing or cleaning fluids from going down the holes and making things even worse.
2. Vacuum the Table
Once the air blowers are running, the next step is vacuuming dust and dirt off the surface. You can use your household vacuum cleaner to do this, but you have to maintain an extremely light touch or hold the hose slightly above the playing field so you don’t damage the table with the nozzle.
Vacuum the entire top surface of the table and spend some extra time over the air holes to ensure that all the dust and dirt particles are completely removed. Once you are done there, then you would want to turn the vacuum down to the legs of the table to get rid of dust and any cobwebs from them.
3. Wipe the Surface
When you finish vacuuming the playing field, you move now to performing thorough cleaning. This involves wiping the surface to get off any dust/dirt particles that have still remained on the table. Vacuuming only helps to remove a majority of free-floating dust particles but wiping ensures that you get rid of all the remaining dirt.
To do this, use a dry, soft cloth. One with no abrasive surface. The best options would be soft cotton cloth or microfiber cloth. These are softer and easily grasp all the dust and dirt without the risk of damaging your table.
Take the cloth and wipe the surface gently, starting from one end, wiping left to right and work your way across the whole surface to ensure that you get everything. In case of any spills or other build-up, you can wet the soft cloth using some rubbing alcohol and rub these areas a little bit firmly to remove the food stains or any other marks.
Don’t use any soap as it may block the air holes and cause them to clog. Like I mentioned in the beginning, your table should be on throughout this cleaning process. Once you have wiped the entire surface, you can use another slightly wet cloth to clean away any dirt or alcohol residue.
After you are done cleaning the top part of the table, you can use another soft cloth dampened in some warm water with dish-washing detergent in it to wipe down the sides and legs of the table.
4. Clean the Air Holes
If there are any blocked holes after vacuuming and wiping the surface, you can use toothpicks, cotton swabs or pipe cleaners to poke into each hole individually and gently ease the obstructions out and wipe them from the table.
Re-cleaning the air holes may seem like a lot of work but it’s quite necessary. After wiping the surface some holes might still have dirt or end up being clogged by the alcohol or detergent you use. Therefore, the air won’t flow out freely and that’s why you need to clear the holes.
I would recommend you use a small metal needle because toothpicks are very likely to break and get lodged in the hole. Plunge the needle deep into the holes so as to completely clear them.
While doing this, ensure that the table is still on to prevent debris from actually falling back into the holes. You don’t need to deep clean the holes regularly like surface. You can do it once in two weeks.
5. Polish the Surface
When you have thoroughly cleaned the table, the final thing you want to do is to polish it. It’s not mandatory, but it can help to retain or restore a smooth surface for a much longer period which means optimal gameplay for many years.
Simply turn off the table and then apply the polish gently over the entire surface. Once it dries, turn on the table and use a soft, dry cloth to buff it by wiping it over the surface. The polish will not only give the table a shiny gloss, but will protect it from future dirt and damage. It can help smoothen even a roughened or age-worn surface.
You can use furniture polish on the legs, sides and the rest of your table if it is whole made of wood. Make sure to spray the polish on the cloth not directly on the table. Spray it on the cloth and then wipe the entire surface using the polished cloth.
You also want to ensure that you only use a small amount so that you don’t end up deeply filling up the air holes with the polish.
6. Leave the Table to Dry
After you have completed polishing the entire table, leave it on so that any damp spot can be dried by the air blowers. While the table dries, you can clean the paddles and the puck to remove all residue remains on the bottom that may hinder their ability to glide on the surface smoothly.
You can use fine steel wool to rub and smoothen out any uneven surface but if they are really rough, then you can replace them. Finally, one important thing that you should always remember to do is to cover your table after cleaning as well as whenever it’s not in use.
How often should you clean the table?
You don’t have to clean it regularly, but once a week is ideal. One thing you should always do on a regular basis is to dust it after each playing session so that dirt and dust don’t end up accumulating. It also helps keep the table in top shape hence prolonging its life.
Whenever you are not using the table, always make sure it’s covered to minimize and prevent dust from accumulating. Keep snacks and drinks also off the table to reduce any chances of potential spills or accidents.
The Bottom Line
Cleaning and maintaining an air hockey table is not a hard task. It just needs a little time and commitment. You don’t want to neglect cleaning your table because most often they come at a hefty price and fixing them when they are damaged is not cheap.
Therefore, you need to take good care of your table if you want to keep enjoying games of air hockey each time. Just follow the six steps I have listed above and you will have an easier time keeping your table clean and running at peak performance. Before you know it, you’ll be entering in a professional tournament.